How to Clean Clams
I’ve tried a lot of nonsense for cleaning clams and purging out the inner gunk, and this is what actually works for me time and time again. Nothing ruins the greatness of a freshly steamed, briny littleneck clam like chomping down into a bunch of sand and grit. Here’s the best way to clean sandy clams!
Even though a lot of people think the fresh clams at the grocery store are already cleaned – and I’m sure they are, to some degree – if I steam them right away with just a quick rinse, I find an off-putting amount of grit and junk inside.
They definitely need to be further soaked and cleaned at home. But how?
There are a million different recommendations, the most common I see involving cornmeal or simply soaking in freshwater for 20 minutes.
I find that soaking in plain water for 20 minutes doesn’t actually do much. And ditto to the cornmeal. Cornmeal does nothing.
Below is everything I do for an enjoyable grit-free clam experience, and while the amount of gunk that comes out varies batch to batch, I always get a good amount of filth in the water.
I always think…I’m glad I didn’t eat that 😂
All you need to do is make a salt water with some precise measurements I’ll share below, and the live clams will purge the gunk inside with some time.
How to get the clams home from the store
When you buy your clams from the grocery, always take them packed with ice, to keep them fresh.
At my store, what they do is pack the clams in a mesh bag so they can breathe, then they put the mesh back into the below bag of ice:
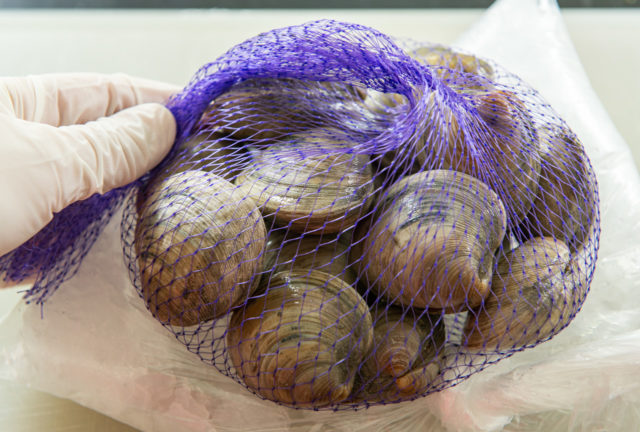
Do not seal the bag, otherwise the clams can suffocate and die.
What clams can you use this soak for?
This is suitable for pretty much any type of clam, whether you’re choosing hard-shell clams or soft-shell clams. Razor clams, little neck clams, cherrystones, and so on all benefit from a good purge.
Not making them right away?
I like to make the clams the same day I buy them. This is the best option for freshness, but if you must, you can save them for a day.
If you want to store the clams for later: Keep them over ice in the fridge in an open container, so they can breathe. And don’t keep them longer than one day.
Check for cracks
Generally the fishmonger will only pack tightly closed clams without big chips or cracks in the shell, but occasionally they miss some.
This is an example of a clam that is best thrown away:
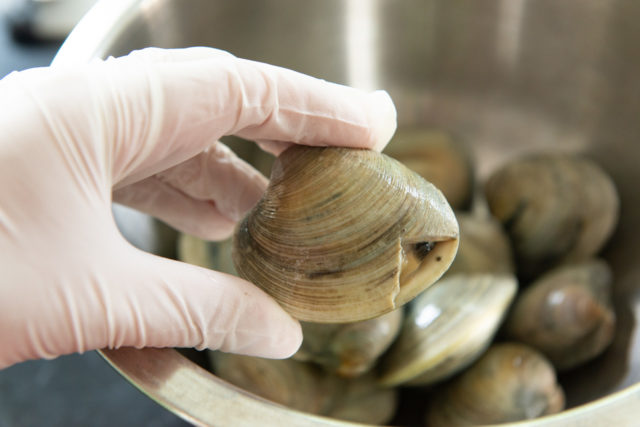
I know it stinks because you’ve paid for it, but it’s not worth the risk.
I will admit there have been a few times when I’ve cooked clams like these anyway if I saw them alive and out of the shell during my soak, and while they do open, they often don’t taste right. Throw them out from the start.
As far as little chips, I usually don’t mind those right along the edge if they’re tiny.
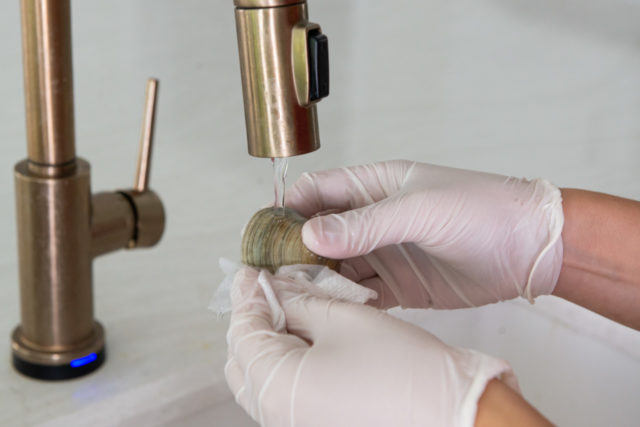
Wash the outsides of the shell
If you have a dedicated stiff brush, brush the outsides of all the shells under cold running water.
Honestly, I just use a paper towel most of the time.
I bunch it up and scrub along the outside, and it’s thick enough to get the filth out of the crevices on the outside.
Sidenote: this probably only applies to high quality paper towels, not the thin ones that start tearing when they get wet.
Prepare the Salt Water for Purging/Soaking
In a large bowl, combine 30 grams of sea salt with 1000 grams of cold tap water. Ideally you don’t want the water to get warmer than about 70F even as it sits, so start it out as cold as the tap will run.
Weigh both the salt and the water if you can, but if you don’t have a scale, it’s about 2 tablespoons of salt in a liter of fresh water (4 cups-ish).
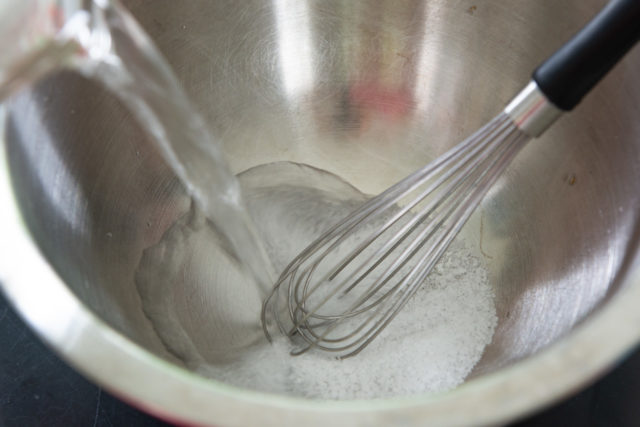
Whisk for about 30 seconds, which should dissolve the salt in the water. Make sure there is none left in the bottom of the bowl.
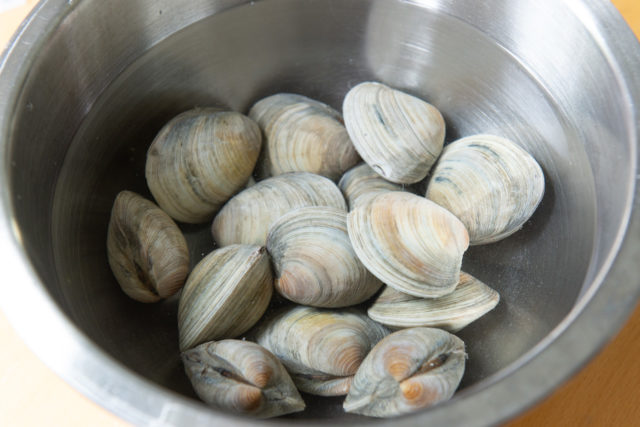
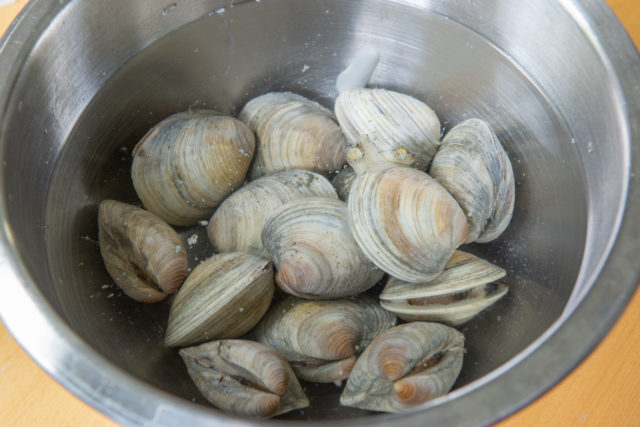
Now add the cleaned clams to the salted water, making sure they are submerged, and set the bowl in a cool place on the counter.
30 grams of salt in 1000 grams of water is the ratio I have found to be perfect for soaking, which I tweaked slightly from this fantastic article by Hank Shaw.
He recommends a little higher salt in the water, but I find if I go higher than this, the clams taste saltier than when I bring them home from the store, so I go slightly lower.
It’s also commonly said that ocean water is perfect for soaking, but I have never tried this due to lack of access.
Let the clams sit – time is what they need
After 1 hour, the clams look like this:
A few of them have opened, and you can see they’ve released a bit of gunk into the water.
Great, but they need longer.
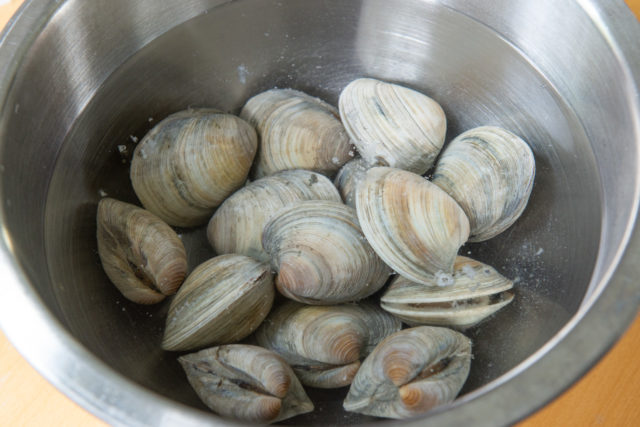
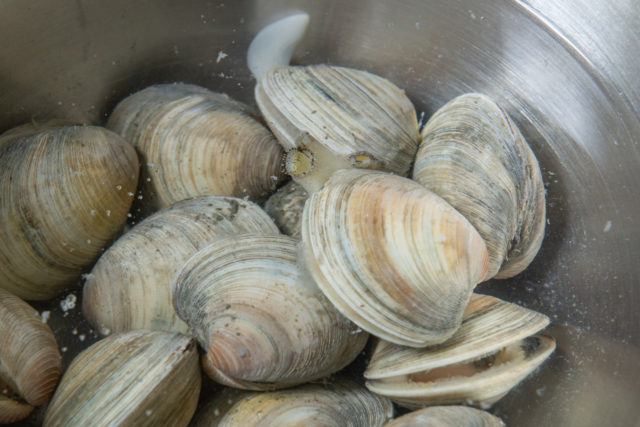
After 2 hours, the water will be a little gunkier, but you may also notice that the clams begin to come out of the shell.
If you look here, you can see the tube like parts coming out of the shell, which is its siphon.
Be careful moving the bowl, because as the clam goes back into the shell, it can shoot water out at you! It has happened to me, from a foot away.
After 2-3 hours, I remove the clams from the water with a slotted spoon.
Here you can see some of the leftover gunk in the water:

Today’s batch is actually quite a bit less than average in terms of gunk that comes out, but I’m still glad I got all that out of my clams! You can never tell a gritty clam solely from the outside.
Discard the soaking water, then rinse the clams once more with clean water from the tap.
Cook the clams
The clean clams are now ready to cook, any way you like.
I place them in a steamer insert in my stockpot, in a single layer:
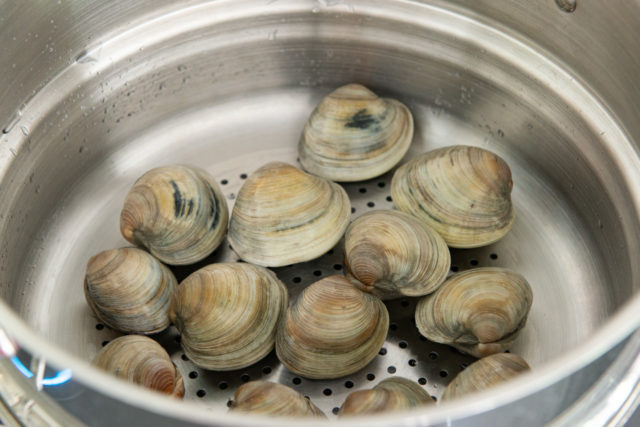
I put the lid on and start checking every few minutes after I can hear the water boiling, because I like to pull the clams that have fully opened while the others steam, so they don’t get overcooked.
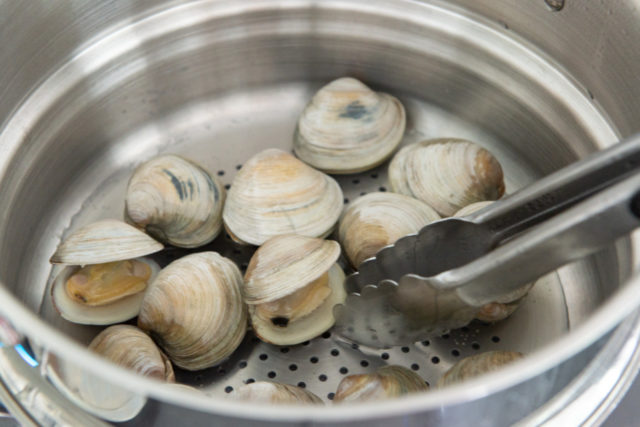
As always, if there are any clams that don’t open after they’ve been steaming at a rolling boil for 5 minutes or so, they are probably dead clams and should be thrown out.
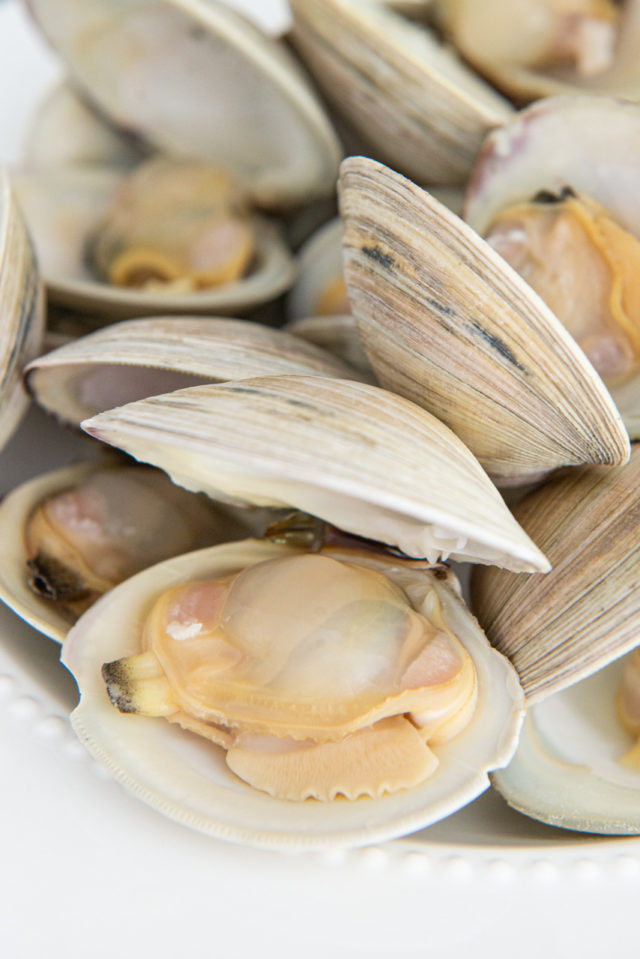
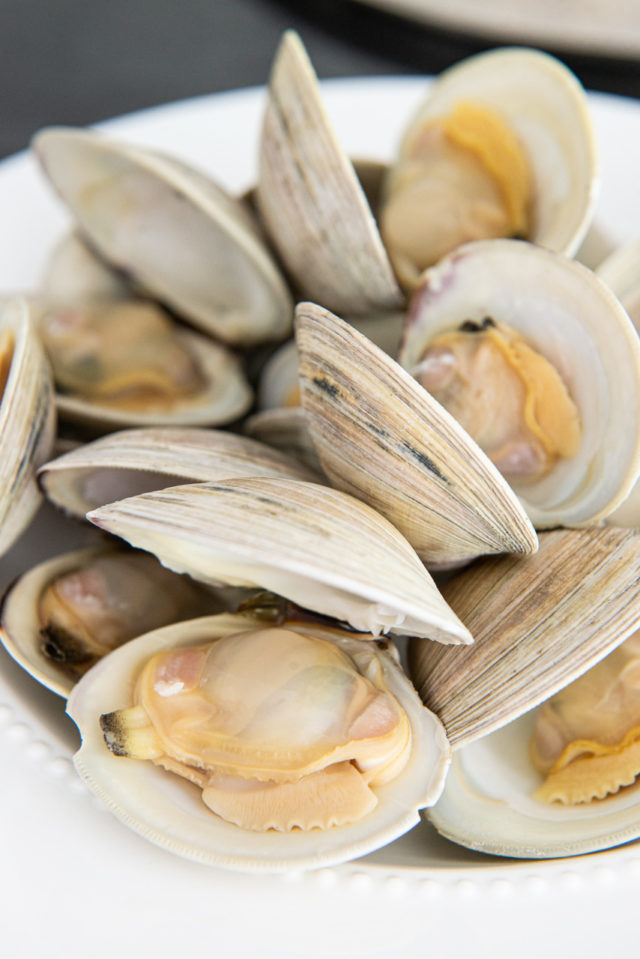
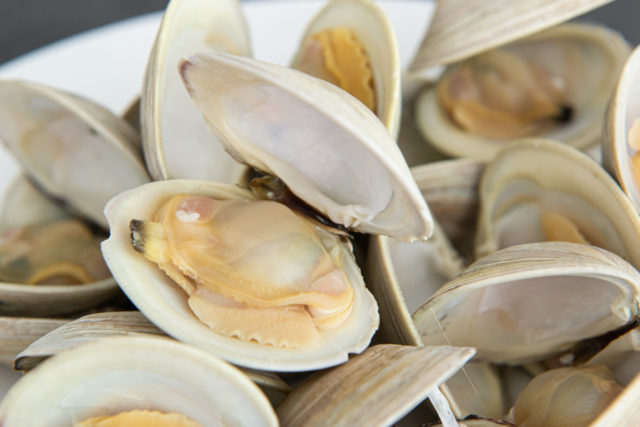
Enjoy your grit-free clam meat! Look how clean and beautiful the little necks are:
You can use these clams with a dish like Linguine alle Vongole, New England Clam Chowder, or a classic clam bake. White wine is great for pairing.
Coconut Green Curry Mussels is one of my favorite seafood recipes, and it can be made with clams as well.
See my entire Fish & Seafood recipe collection here. Happy cooking!
How to Clean Clams
Ingredients
- 1 dozen littleneck clams
- 30 grams salt by weight. If measuring, use about 2 tbsp
- 1000 grams cold water by weight. If measuring, use about 1 liter
Instructions
- Bring the clams back from the store sitting on ice, if possible. If you're not cooking them right away, store them in the refrigerator sitting on ice, in an open container, so they don't suffocate, for no more than one day.
- Rinse the outsides of the clams to get rid of any excess sand.
- Under cold running water, use a brush or stiff paper towel to lightly scrub the outsides of the shells.
- In a bowl, whisk to dissolve the salt into the cold water.
- Add the cleaned clams to the bowl, making sure they are submerged.
- Let sit for 2-3 hours, until you can see that a significant amount of grit has been purged. I leave the clams in a cool place, at room temperature of about 70 to 72 degrees, but you can also store them in the fridge.
- Give the clams a final rinse before cooking, then cook as desired. I steam them using a steamer basket for just a few minutes, until they open. When they are fully open, they are done. Enjoy!
Notes
Nutrition
Nutrition is estimated using a food database and is only intended to be used as a guideline for informational purposes.
15 Comments on “How to Clean Clams”
It the first time I read something that was so complete. You left no stone unturned my Christmas Eve clams were perfect thanks to you have a happy and healthy new year
Thank you for your time and consideration
Nice to get gunk out
THANK YOU!! This is best way indeed! Absolutely no grit whatsoever. Best tip of the year!
Thank you for sharing your method on how to clean clams. The tips you provided are great and work well.
My husband went to the seafood market for me on Friday…I will never send him again…❤️
I ended up with about 5 lbs of fresh flounder, 100 little necks and 2 lbs of jumbo lump crabmeat…. The last is what I sent him for to make my crab dip for Christmas… he went on Friday. I ended up having to throw away some flounder(was enough to serve 6-8…. It was just us Friday night and we were having rib roast and Yorkshire pudding Christmas evening and chicken and dumplings for my daughter and her family tonight). So, I only had 6 dead clams and I scrubbed 60 with cold tap water… usually that’s all I do and it there is no grit!! Nothing worse…I don’t want to keep them another day , but my hands are a mess due to RA. So I thought we could eat 60 that I scrubbed just steamed, but I couldn’t scrub any longer! I used your soaking method in my kitchen sink and it worked beautifully!! I had rinsed them well and gently scrubbed with paper towels! I am going to steam them after we eat the first batch and we shall have amazing clams casino tomorrow nite. I remove the clams and place them in our leftover butter overnite in fridge! Thank you!! I’ve always scrubbed and scrubbed… no longer!!
Tried the linguine alle vongole. I added cherry tomatoes from my garden to the recipe. It was a good summer dish. Fresh clams, fresh garlic, fresh tomatoes & fresh parsley.
I adore clams and tried various methods for purging them. When I met my BF, he showed me a similar method to yours described here, the only difference is we do them overnight, changing the water once. Salted as you also describe, but definitely overnight, with one water change. I have lost a clam or two, but never more than that with the 24 hour method. The difference in using your method and others is a your method gives you a brilliantly much cleaner and more pleasant eating clam. I abhor the cornmeal method…
We do something very similar. However, we live half mile from an excellent beach for clamming, so we dig them ourselves. I can say that a couple hours is not nearly long enough soak for fresh dug clams.
We use about the same ratio of salt…. 35g sea salt for 1L (1000ml) of water. We put in a plastic bin that is wide and long, but only about 6 inches high. Once we hose and brush them off, they go into the water, which is placed on the cool cement (unheated) garage floor of about 50 degrees.
We soak for at least 2 days. The secret is to go get a small aquarium air pump, hose, and air stone. They are about $15 total and last for years. The clams can soak for days, only dying if they starve to death. A time or two we added ocean water to to feed the on an extended soak, but 2 days get nearly all the yuck out of them. Best method we have found.
Hi! Would you clean oysters the same way?
So the recipe is based on a dozen clams. If I buy a bag of 50 or 100 littlenecks, am I just multiplying the amount of salt/water?
So long as the clams are submerged, that is enough. So yes, just increase it so that you have enough.
Do you leave them soaking on your kitchen counter or in the refrigerator?
Hi Sandy, I have in the recipe box: “Let sit for 2-3 hours, until you can see that a significant amount of grit has been purged. I leave the clams in a cool place, at room temperature of about 70 to 72 degrees, but you can also store them in the fridge.” I’ll elaborate that generally speaking I almost always leave them at room temperature because I don’t soak for more than 2-3 hours. But if your room temperature is warm (above 73 or so) or if you’re soaking for a longer period of time, they should go in the fridge. But I wouldn’t for longer than overnight.
Would you clean mussels the same way?
Good question! Yes, but add debearding to the process as well (google it if you don’t know what this is). I find that mussels are nowhere near as bad as clams because at the store they are almost always farmed on lines. They probably don’t need to soak as long…maybe an hour or hour and a half.